Choose the Right Squeeze Bottle
- Select only food-grade squeeze bottles.
- Keep several sizes on hand: Squeeze bottles are inexpensive, making it affordable to have several sizes of squeeze bottles and nozzle tip sizes on hand. A 12-ounce squeeze bottle holds one pound of melted chocolate; while a small, 3-ounce bottle is a nice size for piping large details. A squeeze bottle with a coupler and piping tip attached (squeeze-it mold painter) allows for fine detail piping.
- Cut the tip to the right size for the project: The nozzle of the squeeze bottle can be cut to allow the flow of the chocolate to be appropriate per each project. A fine tip is used for intricate designs and piping details; while a nozzle with a larger cut hole ensures efficiency when filling candy molds.
Easily Fill a Squeeze Bottle with Melted Chocolate
Melt your chocolate using your desired method. Our method of choice for melting is a microwave using a microwave-safe bowl with a spout or a microwave-safe plastic container (like Gladware) with a squared edge. Once melted, the chocolate can be easily poured into a squeeze bottle.
Can I Place Candy Melts in a Squeeze Bottle, and then Melt?
Chocolate melts can be placed in a squeeze bottle and then melted by using a heating pad or electric skillet to warm the chocolate. Continue reading to learn how to use an electric skillet or a heating pad. Remember that most candy melts are much bulkier when they are not melted; therefore, when the chocolate wafers melt, they only fill the bottle about ½ way (see picture below). This method also takes about 30 minutes to an hour for the wafers to melt, so if you use this method, give yourself time for the wafers to melt.
How to Keep the Chocolate Warm?
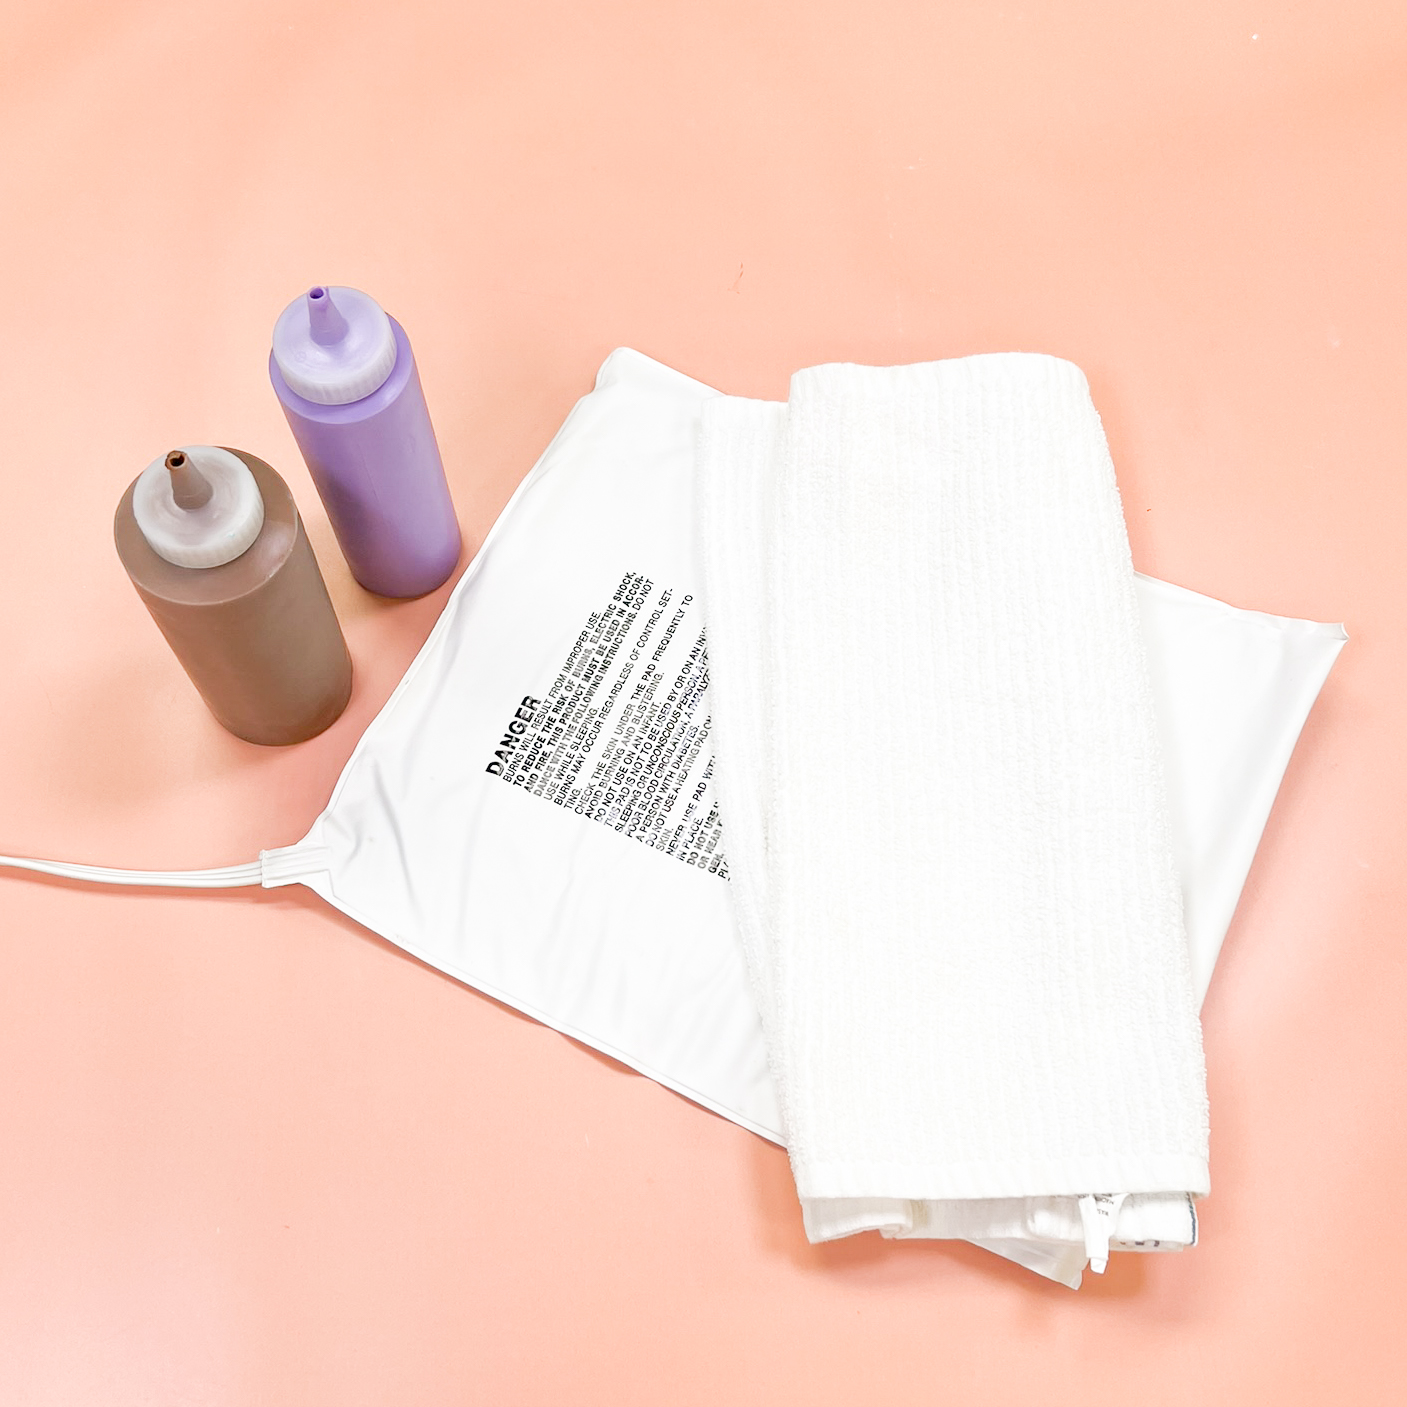
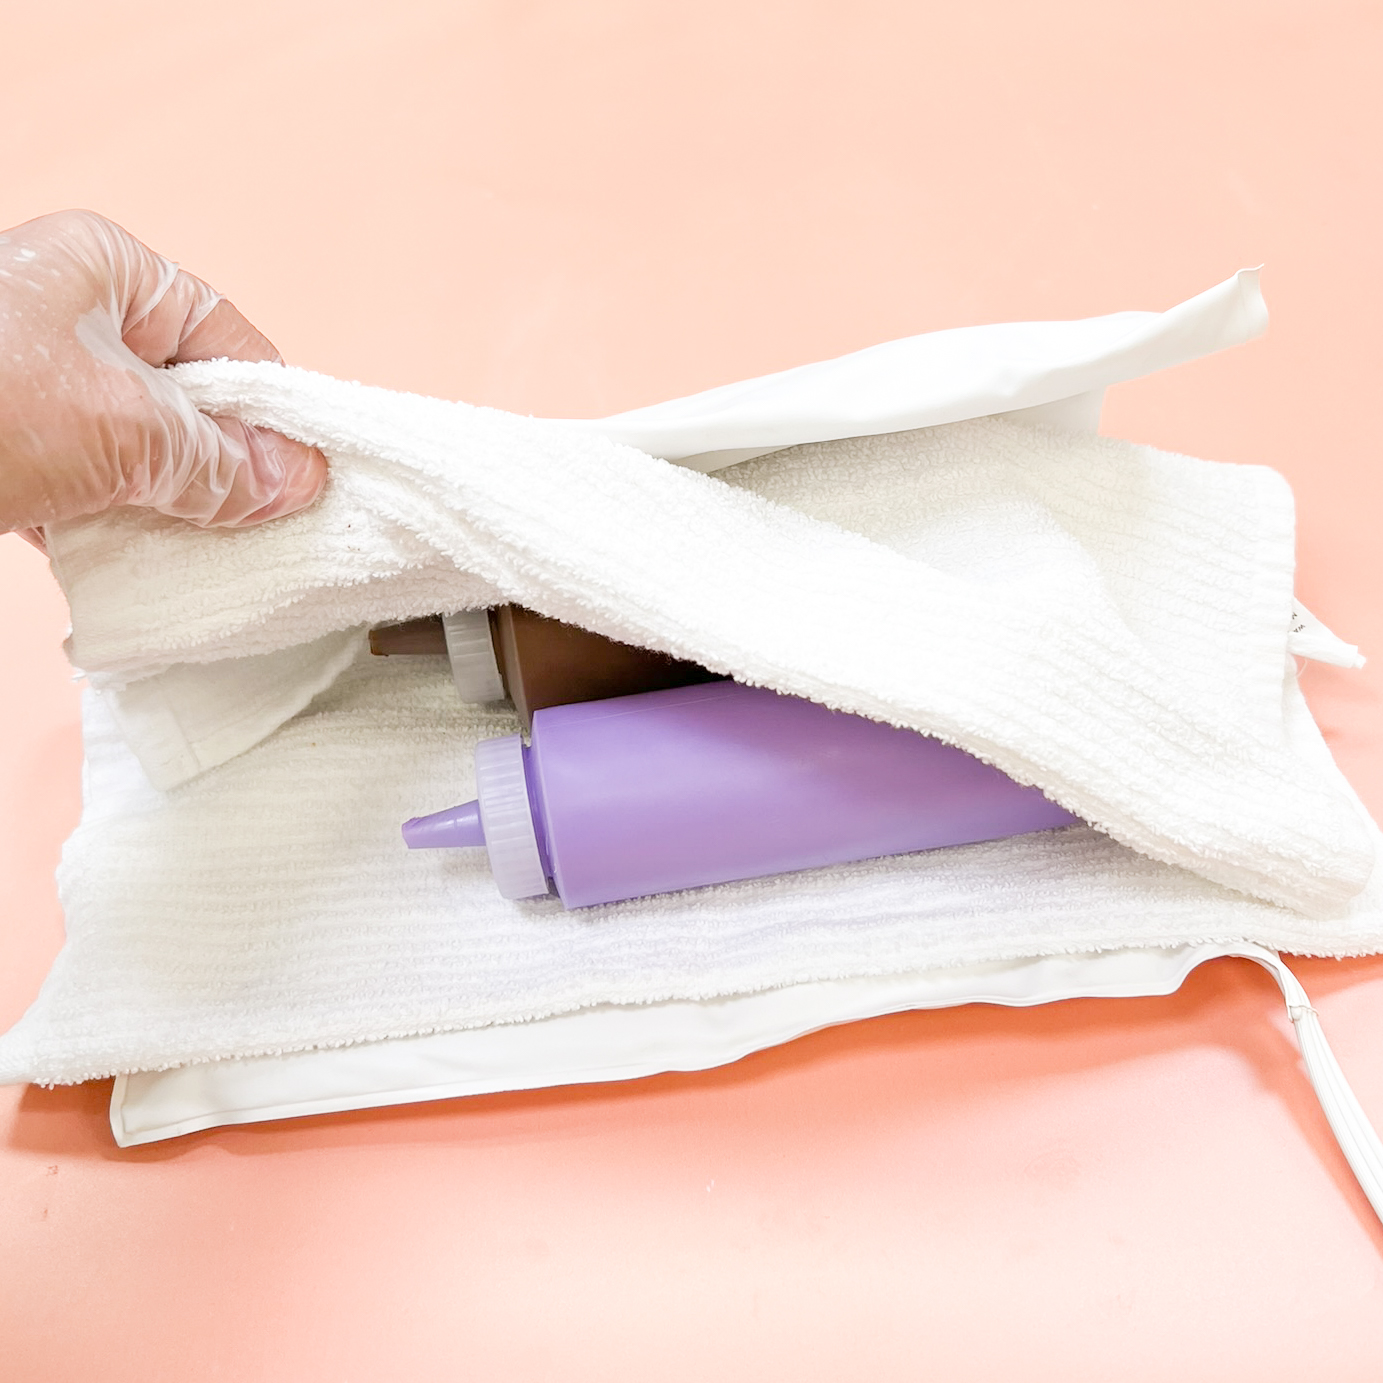
Chocolate can quickly solidify as it cools, making it challenging to squeeze through the bottle. To avoid this, keep your melted chocolate warm by placing the squeeze bottle in a heating pad wrapped with a dry towel or in an electric skillet lined with dry towels. A warm water bath can be used; however, if any water or steam accidentally gets into the chocolate, it will seize and be nearly impossible to flow from the bottle. The warm water bath method should only be used if an electric skillet or heating pad is not available.
- Use a heating pad: Turn the heating pad on low. Place a layer of dry towels. Wrap the squeeze bottle in the heating pad to keep warm.
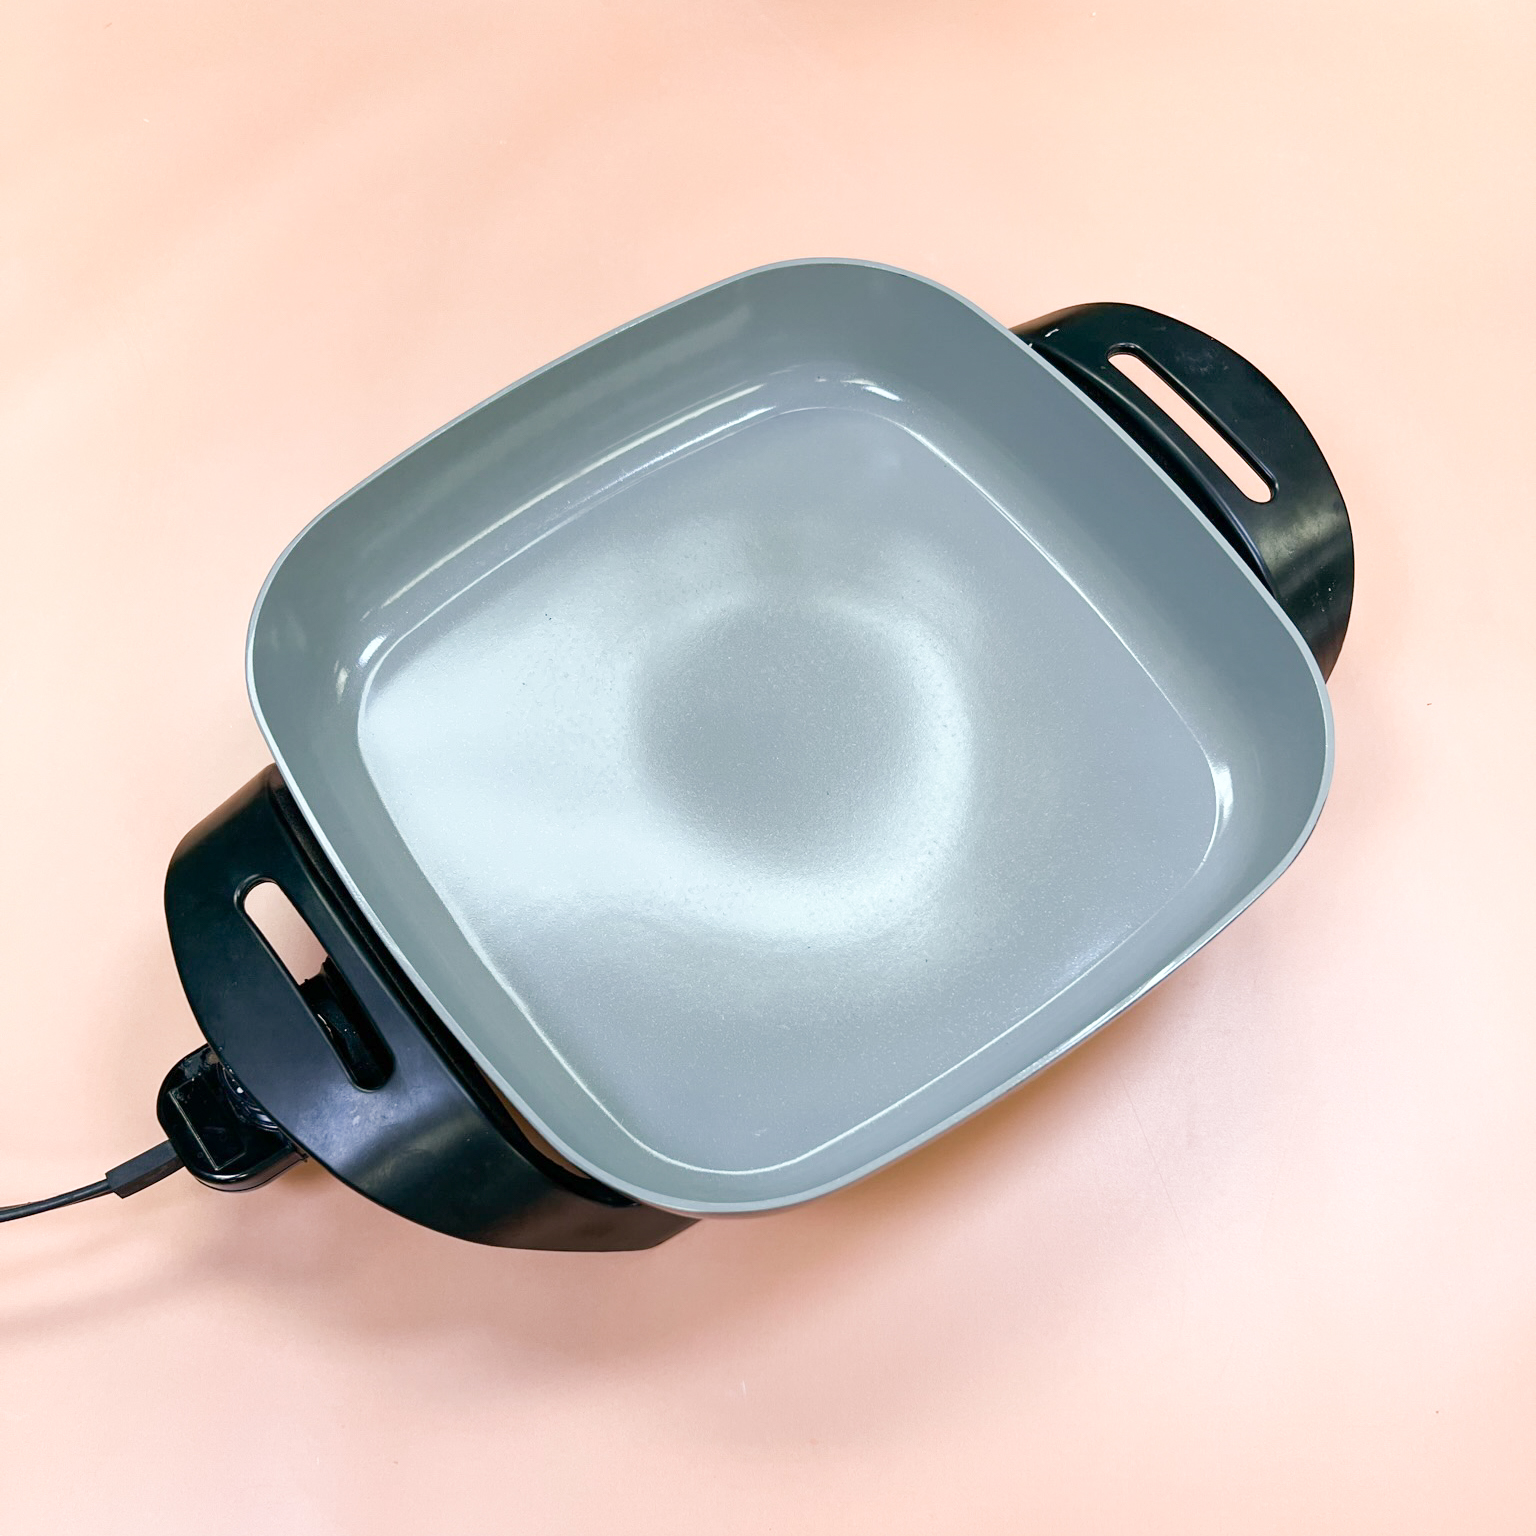
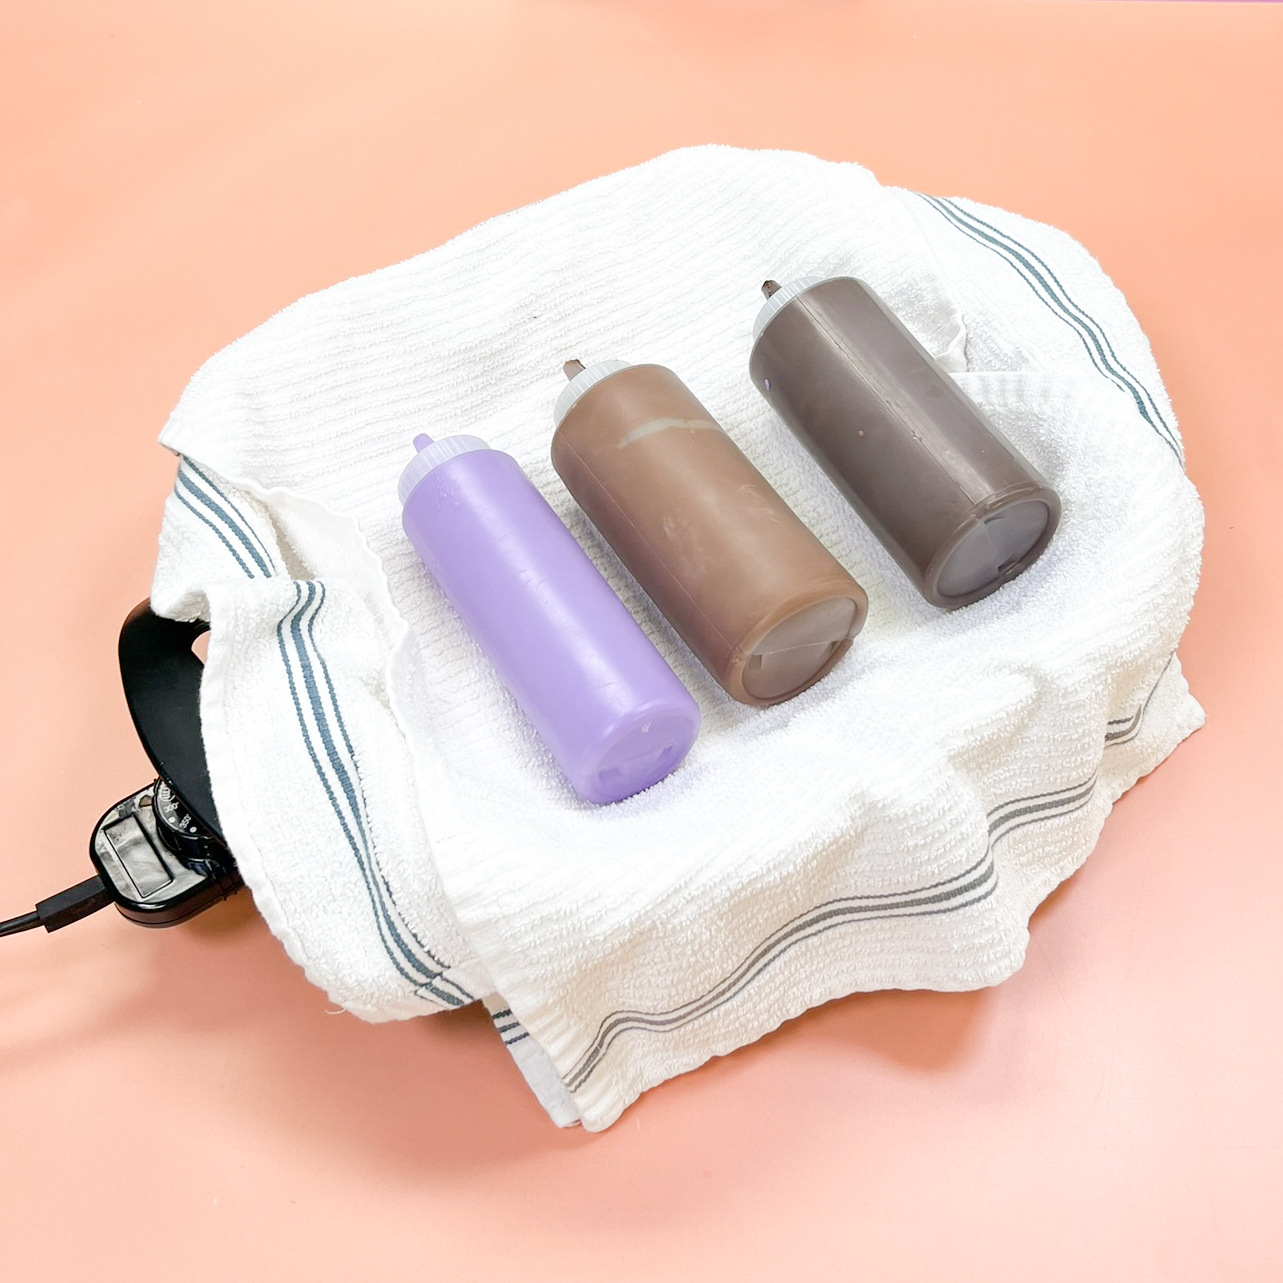
- Use an electric skillet: Turn the electric skillet on the lowest setting. Place several layers of dry towels. Place the squeeze bottles in the electric skillet to keep warm. The skillet lined with towels should be warm to the touch, not hot, or it will burn the chocolate.
How To Clean a Squeeze Bottle?
When done making chocolates for the day, lay out a sheet of parchment paper. Remove the cap of the squeeze bottle. Allow the excess chocolate to drip from the squeeze bottle onto parchment paper. Spread thin. When the chocolate is no longer flowing from the bottle, place the bottle on its side in the freezer to set.
After 5-10 minutes, remove the squeeze bottle and squeeze to crack the chocolate, and release the set pieces from the bottle. When the chocolate on the parchment paper is set, break it into pieces. The pieces from the bottle and parchment can be placed in a bag and sealed tight for later use.
How to Fill a Chocolate Mold using a Squeeze Bottle
Fill an 8-ounce or 12-ounce squeeze bottle with melted chocolate. Use a squeeze bottle cap that has a medium to large cut nozzle. Squeeze the melted chocolate from the squeeze bottle into the mold. Fill until the mold is nearly full. Tap the mold against the countertop to smooth and remove air bubbles. Place the filled mold in the freezer for 10-12 minutes.
When the mold is cloudy, and the candy feels cool, turn the mold over onto a layer of towels. Flex to release the candy pieces.
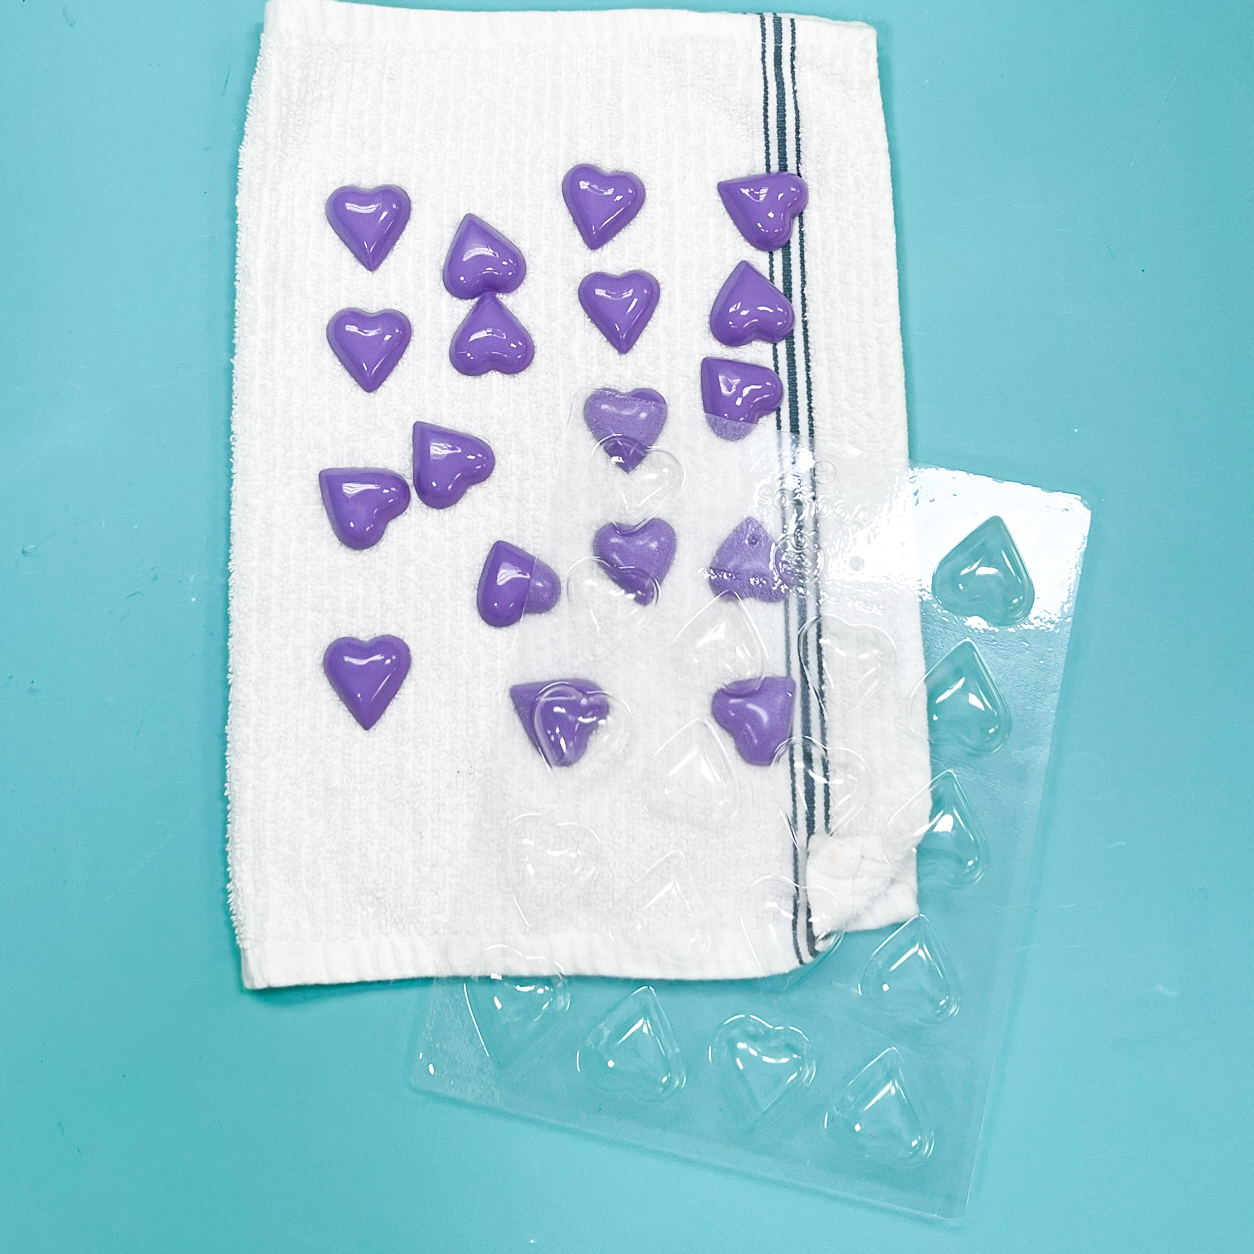
Fill a small, 3-ounce squeeze bottle with melted chocolate. Use a squeeze bottle cap with a fine-tip nozzle. Squeeze the melted chocolate from the squeeze bottle into the details of the mold. Allow the painted details to set at room temperature.
Fill an 8-ounce or 12-ounce squeeze bottle with melted chocolate. Use a squeeze bottle cap with a medium to large cut nozzle. Squeeze the melted chocolate from the squeeze bottle, covering the details of the mold. Fill until the mold is nearly full. Tap the mold against the countertop to smooth and remove air bubbles. Place the filled mold in the freezer for 10-12 minutes.
When the mold is cloudy, and the candy feels cool, turn the mold over onto a layer of towels. Flex to release the candy pieces.