Video Tutorial
Mixed Ingredient Bark
The first way to make Candy Bark is the quickest and easiest (although none of the techniques are difficult). Simply melt the chocolate candy coating and then add the crunchy ingredient. Mixed ingredient bark is typically a 2 to 1 ratio. Use 2 cups of chocolate to 1 cup of crunchy ingredients. More or less crunchy ingredients can be added depending on your preference.
Directions:
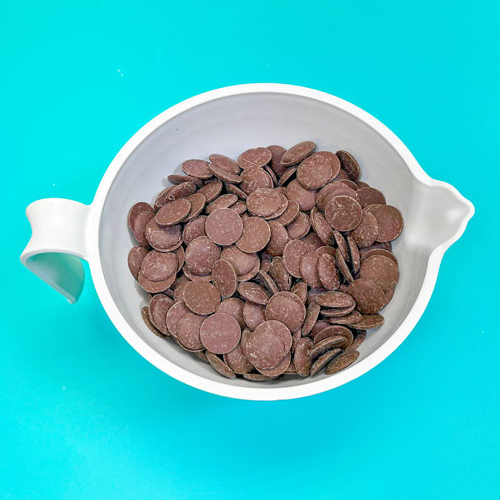
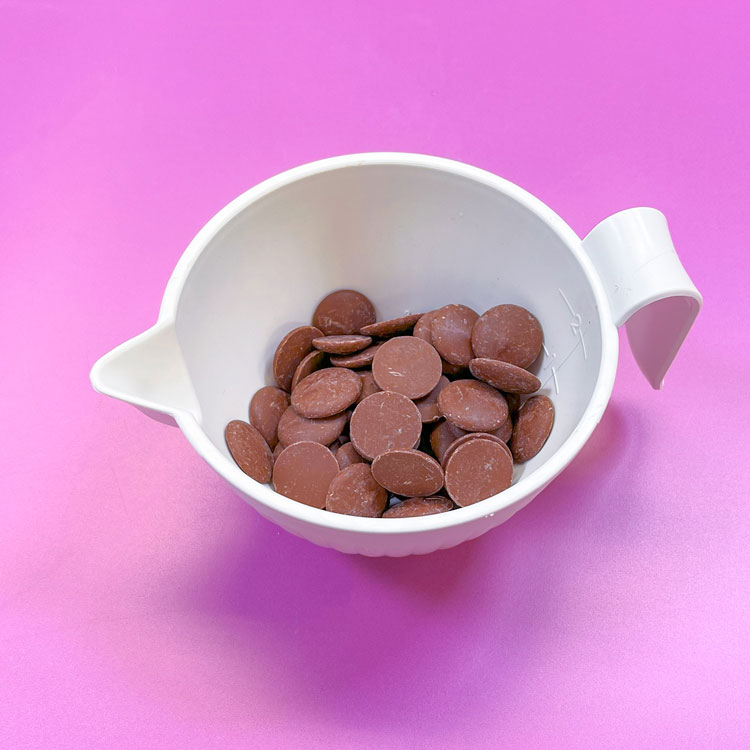
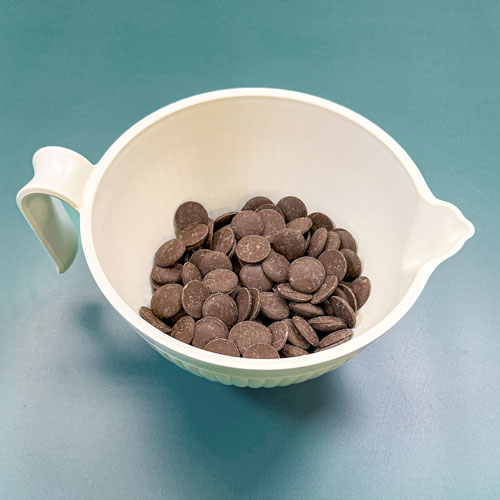
Step 1: Lay out a large sheet of parchment paper on the counter. If the chocolate is in block form, chop the chocolate into uniform pieces. Place the chocolate candy wafers or chopped chocolate into a microwave-safe bowl.
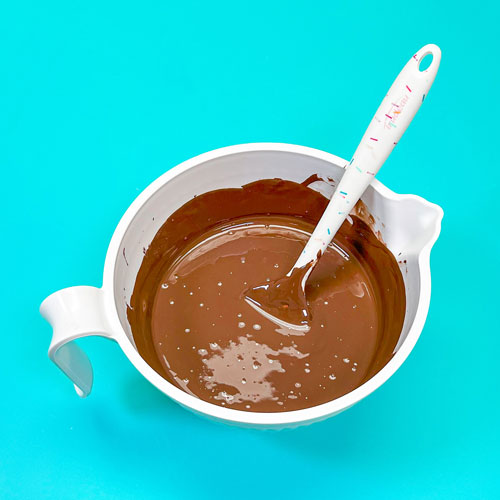
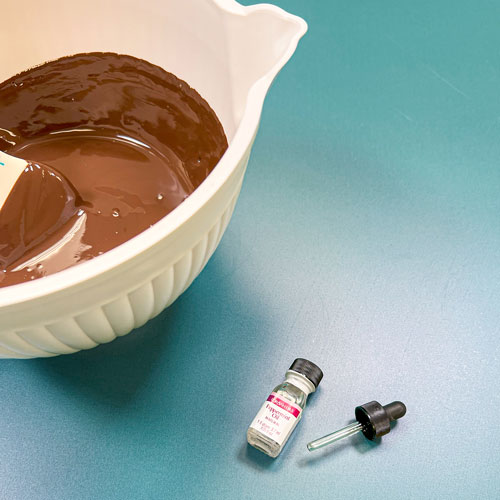
Step 2: Melt the chocolate using 20-second intervals, stirring in between to ensure the chocolate melts evenly and doesn’t scorch. Continue melting until the chocolate is fluid.
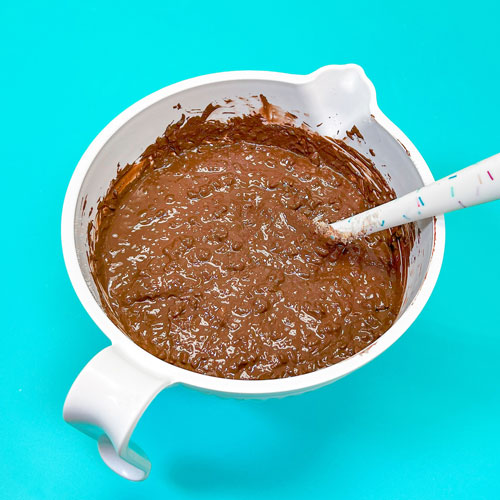
Step 3: Immediately add the crunchy ingredient and flavoring if desired. Stir until all ingredients are incorporated.
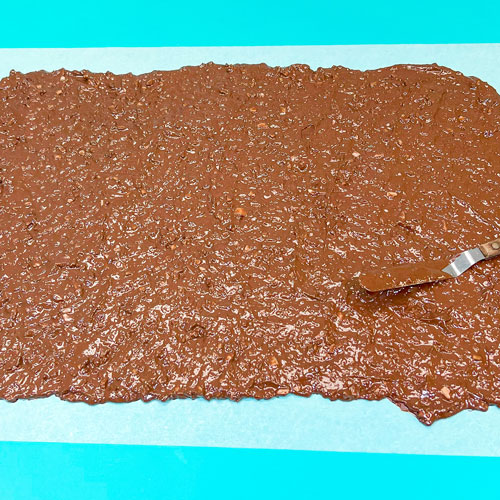
Step 4: Use a spatula and spread the bark as thin as possible on the parchment paper. Allow to set up completely at room temperature before breaking into pieces.
Mixed Ingredient Bark Recipes:
Marbled Bark
The third way to make bark is to melt two colors and/or flavors of chocolate and marble the melted chocolate together. This creates a visually stunning candy. Ingredients can be sprinkled on top for added color, flavor, and texture.
Directions:
Step 1: Lay out a large sheet of parchment paper on the counter. If the chocolate is in block form, chop the chocolate into uniform pieces. Place the chocolate candy wafers or chopped chocolate into a microwave-safe bowl.
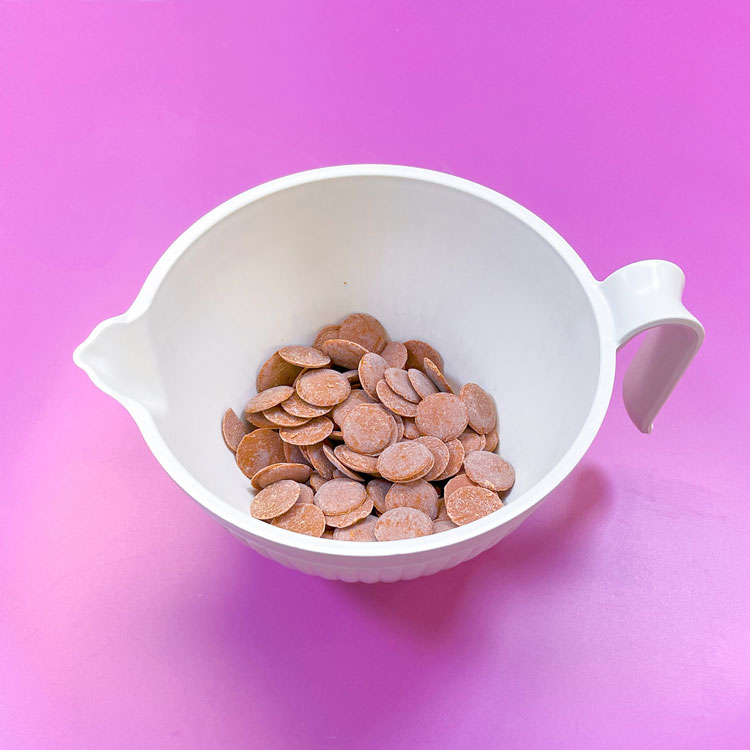
Step 2: Melt the first color of chocolate to be used using 20-second intervals, stirring in between to ensure the chocolate melts evenly and doesn’t scorch. Continue melting until the chocolate is fluid. Add flavoring if desired. Set aside.
Step 3: Melt the second color of chocolate to be used using 20-second intervals, stirring in between to ensure the chocolate melts evenly and doesn’t scorch. Continue melting until the chocolate is fluid. Add flavoring if desired.
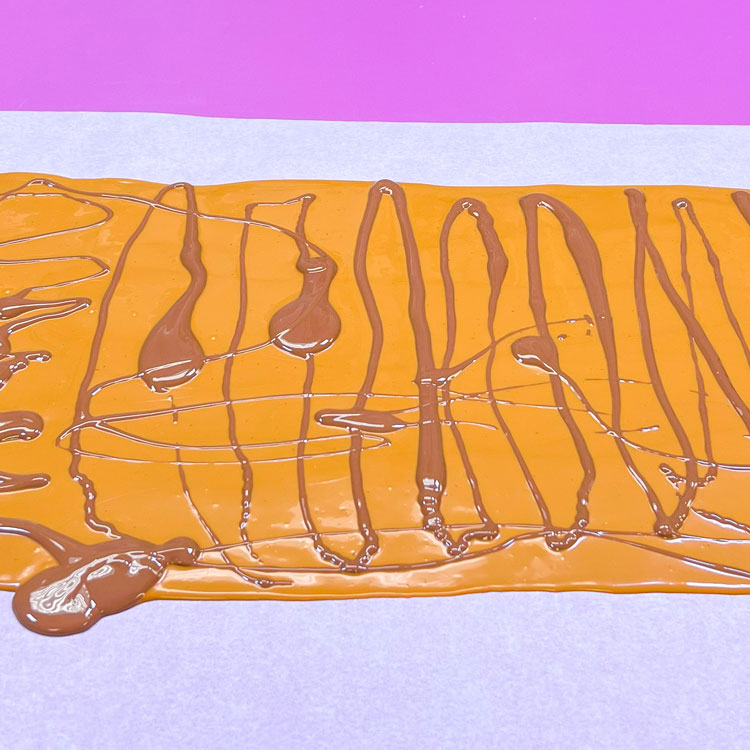
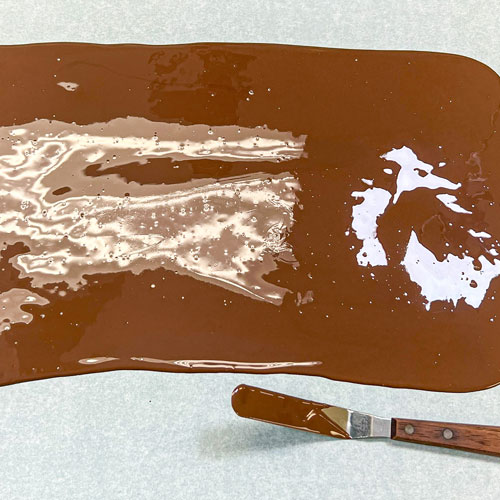
Step 3: Use a spatula and spread the first color of melted chocolate on the parchment paper.
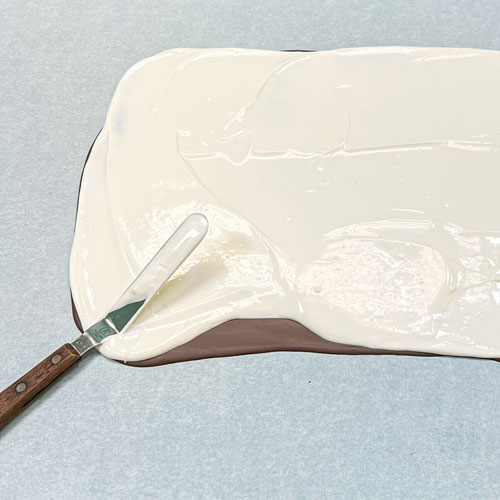
Step 4: Immediately spoon dollops of the second color on top.
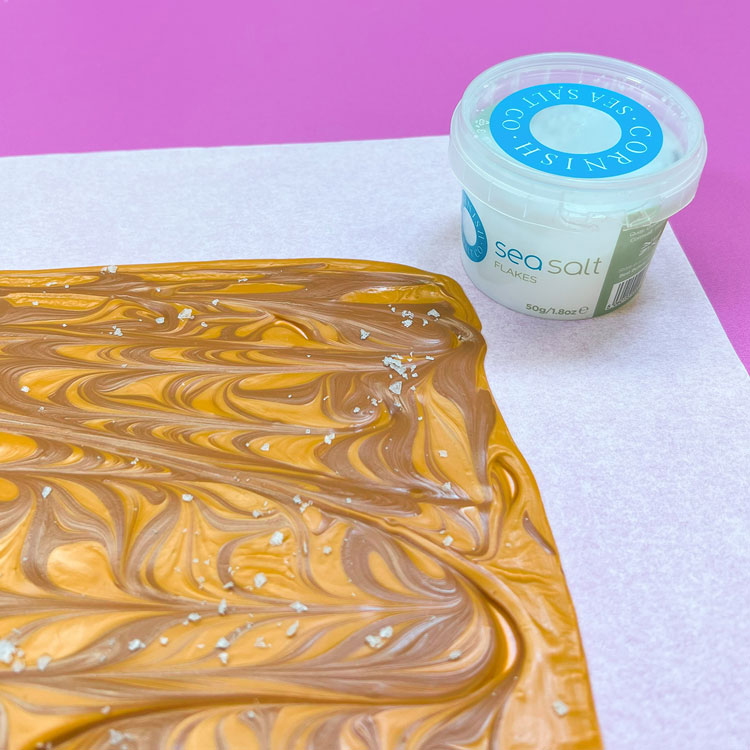
Step 5: Swirl the melted chocolates together. Be sure to hold the knife at a 90-degree angle or the chocolate will look muddy.
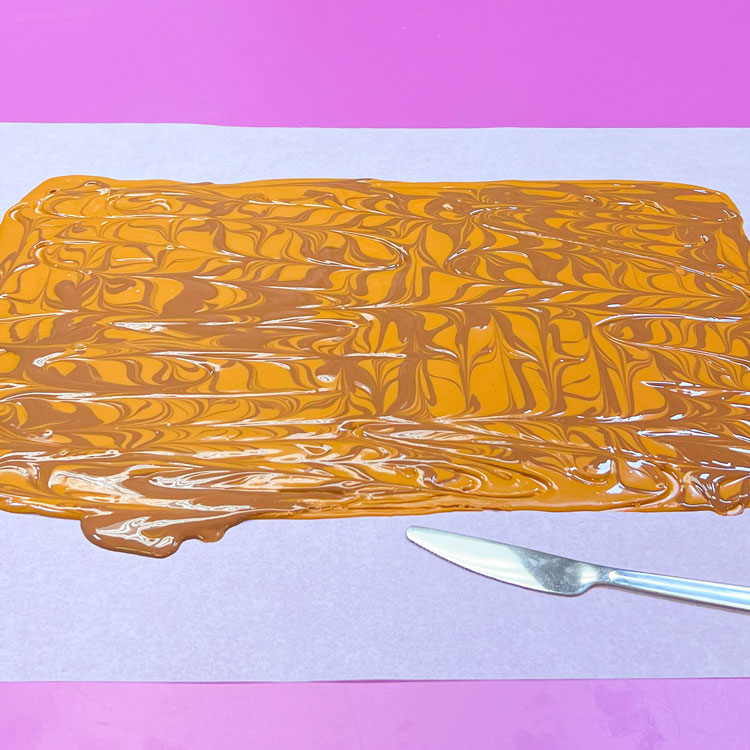
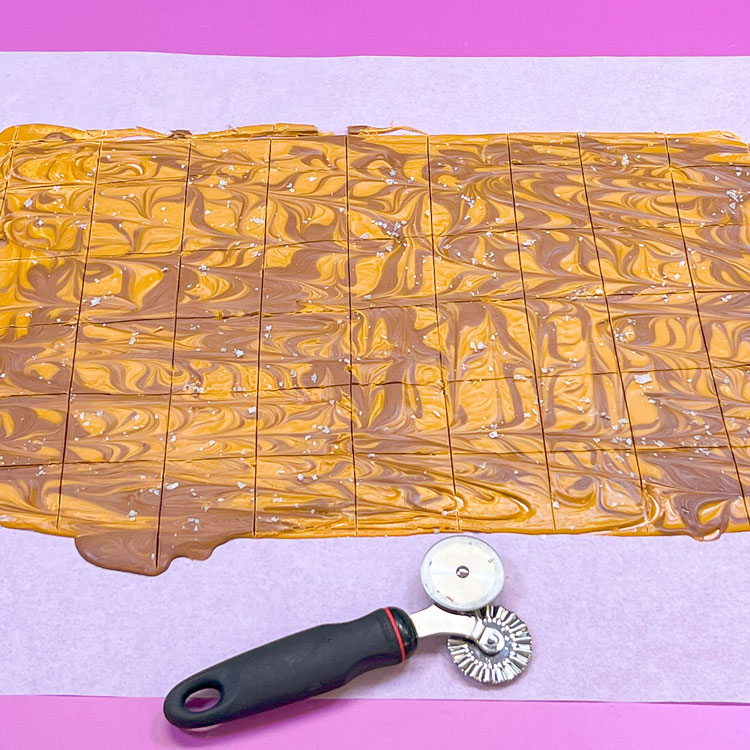
Step 4: If desired, immediately sprinkle crunchy ingredients on top of the warm chocolate. Allow to set up completely at room temperature before breaking into pieces.
Marbled Bark Recipes:
Layered Bark
The second way to make bark is to melt the chocolate, and then sprinkle the warm chocolate with the crunchy product. A second flavor or color of melted chocolate can be added to the bottom layer of chocolate before sprinkling the crunchy ingredient. Keep in mind that some ingredients such as pretzels or tiny crisp rice will become stale as the bark sets over time if the finished bark is not stored in an airtight container. If making bark for a gift, ingredients that may become stale are best when mixed in the chocolate rather than sprinkled on top.
Directions:
Step 1: Lay out a large sheet of parchment paper on the counter. If the chocolate is in block form, chop the chocolate into uniform pieces. Place the chocolate candy wafers or chopped chocolate into a microwave-safe bowl.
Step 2: Melt the chocolate using 20-second intervals, stirring in between to ensure the chocolate melts evenly and doesn’t scorch. Continue melting until the chocolate is fluid. Add flavoring if desired.
Step 3: Use a spatula and spread the melted chocolate as thin as possible on the parchment paper.
Step 4: If desired, melt a second flavor or color of chocolate. Spread the second flavor on top of the first when the bottom layer is just set (the chocolate has just lost its shine). Note: Waiting until the first layer is completely set may cause the layers to separate.
Step 5: Immediately sprinkle the crunchy ingredients on top of the warm chocolate. Allow to set up completely at room temperature before breaking into pieces.
Layered Bark Recipes: